Adding Github Auth to Django
Introduction
In the previous post we have setup Environment Variable in our basic-django app.
In this tutorial we will be adding our first Social Authentication (Github) via django-allauth.
If you haven't setup django-allauth in your app, make sure to go through the previous tutorial on it. We are setting it up from scratch there.
All the code in this tutorial will be in this PR, so you can follow along.
Help
If at any step of this tutorial something goes wrong you have the following options to get back on track:
- read the allauth docs: https://docs.allauth.org/
- comment down below this post
- tweet me @builtwitdjango
- send me an email: rasul@builtwithdjango.com
You can also check out other tutorials on Social Auth to get a different prospective or to cross check in case something goes wrong. I strongly recommend Will Vincent's tutorial.
Preparation
- Install django-allauth
poetry add "django-allauth[socialaccount]"(primer on using poetry if you need it) - Add the following 2 lines to the
installed_appsvariable in `settings.py:
INSTALLED_APPS = [
    ...
    "allauth.socialaccount",
    "allauth.socialaccount.providers.github",
    ...
]
- Make sure that the allauth url is in the
urls.pyfile:
urlpatterns = [
    path("admin/", admin.site.urls),
    path("accounts/", include("allauth.urls")), # this
    path("", include("pages.urls")),
]
- Create our app on Github by going to the following link: https://github.com/settings/applications/new.
Fill out the form. Here is what I did:
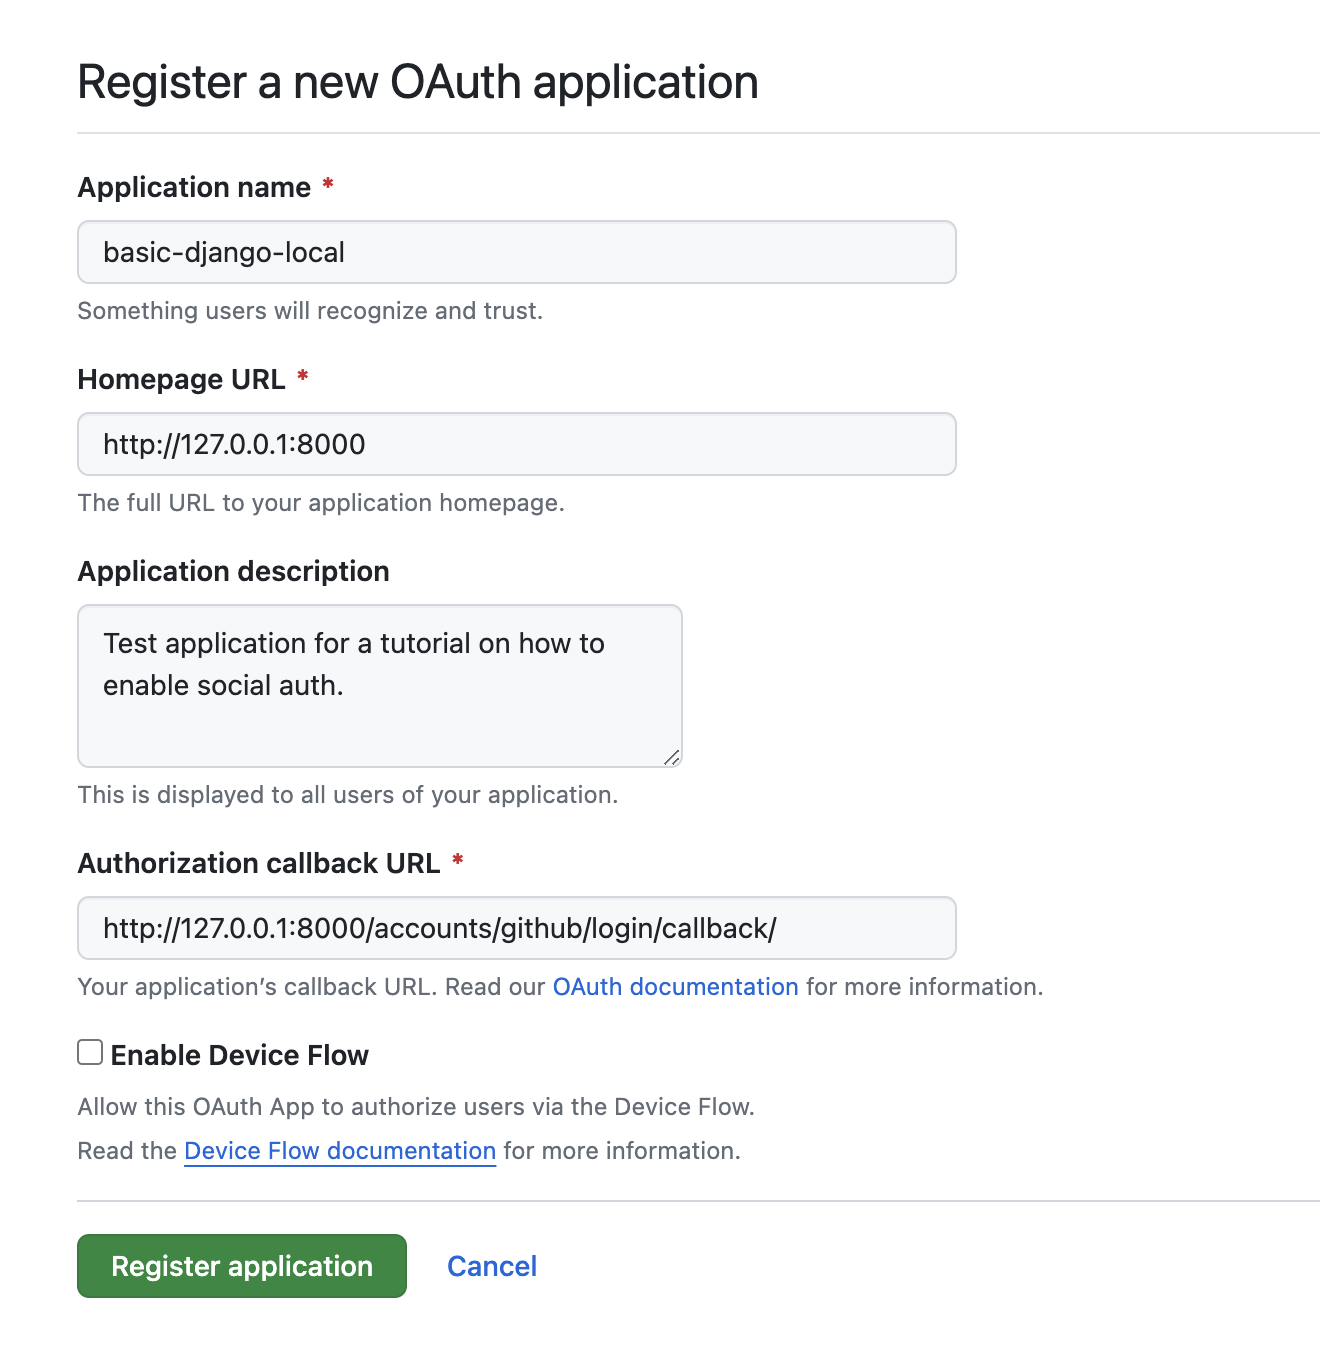
Note 1: I have added local to the end of the application name. This is useful, since when we create a production version we will setup a separate app.
Note 2: Make sure Enable Device Flow is not checked. This is for CLI apps without browser.
Note 3: I got the Authorization callback URL value from the django-allauth page on Github Authentication. In general if you are adding Social Authentication via django-allauth, make sure to use the relevant provider page, as it will have all the necessary information.
If you are having any trouble with specific authentication type, let me know I will create a separate tutorial for that.
-
Click 'Register Application'.
-
Copy the
Client IDvalue and added to your .env file like so:
GITHUB_CLIENT_ID="Ov23lisVB..." # this will be unique for you
- Click on the
Generate a new client secretand also add it to your.envfile like so:
GITHUB_CLIENT_SECRET="e5f7ecd..." # this will be unique for you
Note: If you need a primer on environment variables, check them out here.
Let's get to business
Now we have everything in place to continue.
-
Run
poetry run python manage.py migrateto add all the tables required bydjango-allauth. -
Add the following to the bottom of your
settings.pyfile:
SOCIALACCOUNT_PROVIDERS = {
    "github": {
        "VERIFIED_EMAIL": True,
        "APP": {
            "client_id": env("GITHUB_CLIENT_ID"),
            "secret": env("GITHUB_CLIENT_SECRET"),
        },
    },
}
Note 1: VERIFIED_EMAIL key tells our app that anyone who authed through github will count as a Verified email we can trust.
Note 2: In the app key we are loading the env vars we just saved in our .env file.
- Run
poetry run python manage.py runserverto make sure everything run smoothly. If it does let's continue.
Another powerful feature of django-allauth is that they provide you with all the goodies. You are about to see.
Just add the following line to your home.html file:
{% extends "base.html" %}
{% load socialaccount %}  <!-- new -->

{% block content %}

  ...

  {% if user.is_authenticated %}
    <p>Username: {{ user.username }}</p>
    <p>Email: {{ user.email }}</p>
    <a href="{% url 'account_logout' %}">Logout</a>
  {% else %}
    <a class="p-2 text-blue-500 rounded-md border" href="{% url 'account_login' %}">Login</a>
    <a class="p-2 text-blue-500 rounded-md border" href="{% url 'account_signup' %}">Signup</a>
    <a class="p-2 text-blue-500 rounded-md border" href="{% provider_login_url 'github' %}">Sign Up with GitHub</a> <!-- new -->
  {% endif %}

{% endblock content %}
Note 1: I added some Tailwind style classes to make it easier to see the result. The main point is the new 'github' link.
Note 2: If you are wondering where all of these other links are, I've talked about this in another allauth tutorial (without social auth).
After adding these lines to our html file, let's run our server:
poetry run python manage.py runserverin one terminal tabpnpm run startin another
Head over to http://127.0.0.1:8000/ in your browser. This is what I'm seeing:
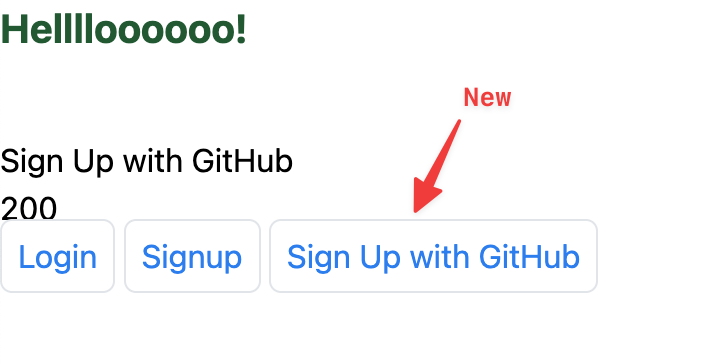
- Click the new link... This will lead you to
http://127.0.0.1:8000/users/github/login/that looks like this:
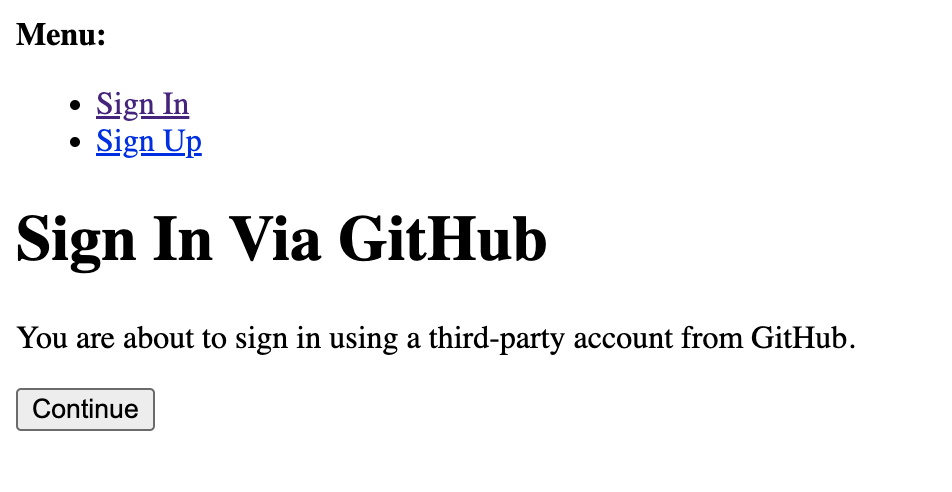
Don't worry, we will style this page later.
-
Click continue. You should be directed to the Github login page:
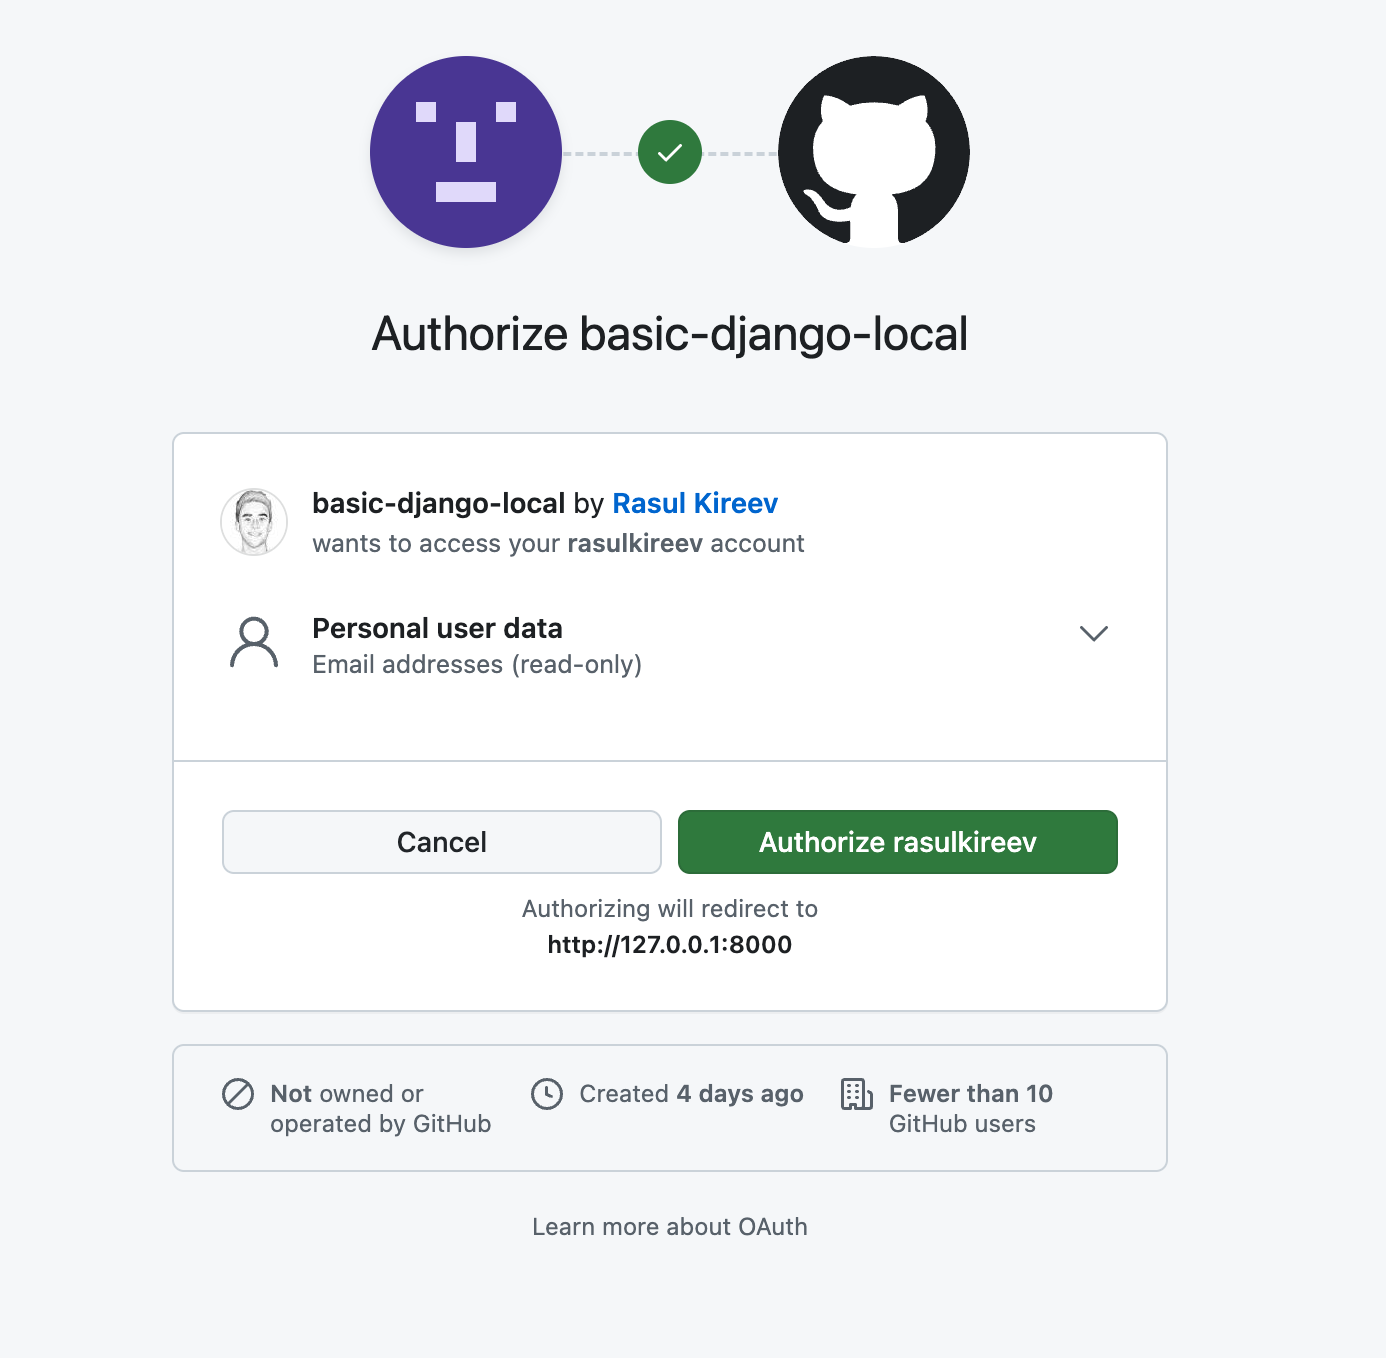
-
Once you go through, you should be redirected to your home page and see something like this:
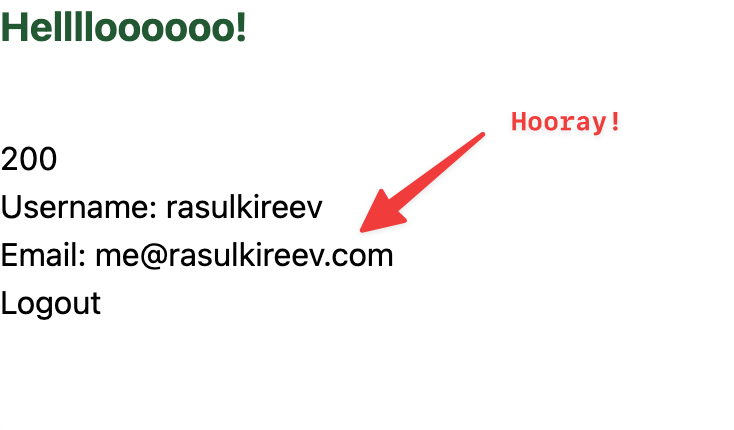
If everything worked fine, then congrats! If not, comment down below, I'll do my best to help you!
In the next tutorial will will style those new pages and make a few quality of life adjustments.
